Leveling round cakes is a key step in creating professional-looking layer cakes with even, stable layers. Below is a detailed guide, including tips and tools, to help you level round cakes easily and accurately.
🎂 Why Level Cakes?
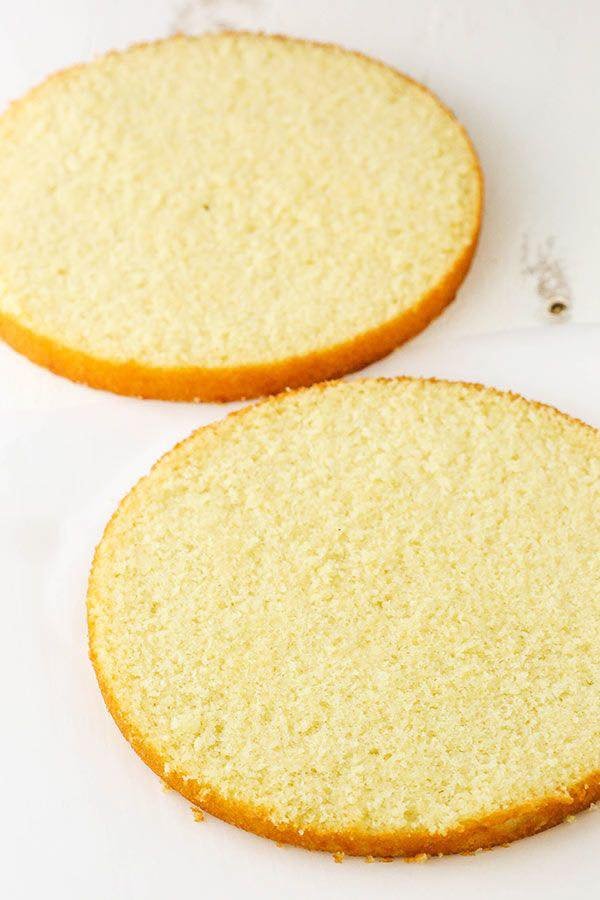
When cakes bake, they often develop a dome on top due to uneven heat distribution. Leveling removes that dome, resulting in:
Flat, even layers
Easier stacking
Cleaner presentation
🔧 Tools You’ll Need
Serrated knife (bread knife or cake leveler)
Cake turntable (highly recommended)
Ruler or cake level guide (optional, for accuracy)
Toothpicks or skewers (optional for marking)
Long offset spatula (optional for sliding under the cut top)
📝 Step-by-Step Instructions
1. Let the Cake Cool Completely
Never level a warm cake—it will crumble and fall apart.
Let it cool in the pan for 10–15 minutes, then turn it out onto a wire rack to cool completely.
For best results, chill the cake in the fridge for 30–60 minutes before leveling. Cold cakes are firmer and easier to cut cleanly.
2. Choose Your Leveling Method
There are two main ways to level cakes:
Method A: Using a Serrated Knife (Manual)
Step-by-step:
Place the cake on a turntable or flat surface.
Hold the knife parallel to the counter and position it just below the dome.
Slowly start cutting into the cake while rotating it with your other hand.
Use a gentle sawing motion, letting the knife do the work.
Keep the knife level as you go around.
Once the cut is complete around the cake, gently slice through the center.
Carefully lift the dome off with a spatula or your hand.
Tips:
Toothpick trick: Insert toothpicks around the cake at the height you want to level. Use them as a visual guide.
Mark the line: Score the leveling line around the cake before cutting.
Method B: Using a Cake Leveler (Tool-Assisted)
Step-by-step:
Set the adjustable wire on the leveler to your desired height.
Place the cake on a flat surface.
Use a gentle sawing motion to pull the wire through the cake, keeping it level.
Keep the pressure even to avoid dragging or tearing the cake.
Remove the dome and check for evenness.
Tips:
Best for beginners or those baking lots of cakes.
Inexpensive and more precise than knives.
3. Check for Level
Use a ruler or eye level to confirm the top is flat.
Minor unevenness can be adjusted with frosting.
4. Optional: Torte the Cake
If you want thinner layers:
After leveling, slice the cake horizontally into 2 or more layers using the same technique.
5. Save the Scraps
Don’t toss the domes! Use them for:
Cake pops
Crumbs for decoration
Snacking 😋
💡 Extra Pro Tips
Tip Description
📏 Use a ruler For ultra-precise leveling and even layer heights.
❄️ Chill your cake Cold cakes cut cleaner with less crumbling.
🔪 Keep your knife clean Wipe the blade after each cut for clean lines.
🔄 Rotate while cutting This ensures an even cut all around.
🧈 Use baking strips Wrap wet baking strips around your pans before baking to prevent doming.
🔁 Summary Checklist
✅ Cake is completely cool (chilled is better)
✅ Knife is sharp and serrated
✅ Turntable or flat surface is ready
✅ Desired height is marked or measured
✅ Use gentle, slow motions for cutting