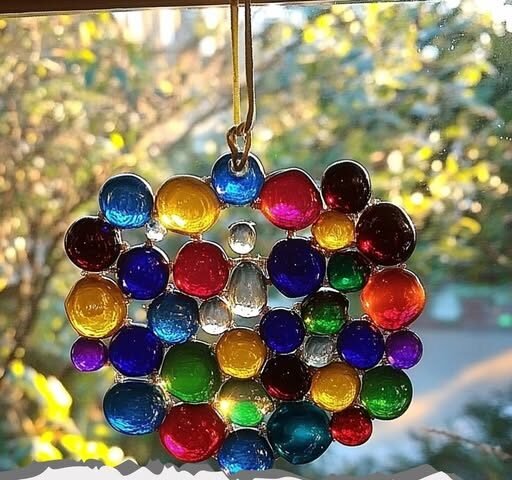
Here’s a Suncatcher Recipe — a fun, creative craft project where you make decorative translucent pieces that catch the sunlight beautifully. It’s perfect for hanging in windows or outdoors.
Suncatcher Recipe (Stained Glass Effect)
Materials Needed:
-
Clear plastic sheets or transparent acetate sheets (can use old plastic folders or report covers)
-
Colored tissue paper or translucent cellophane sheets in various colors
-
Black construction paper or black cardstock (for the “leading” or outlines)
-
Scissors
-
Glue stick or white glue (preferably a glue that dries clear)
-
Pencil
-
Tape or string (for hanging)
-
Optional: Glitter, sequins, or small beads for extra decoration
Step-by-Step Instructions:
1. Design Your Suncatcher Outline
-
Draw a simple design or shape on the black construction paper. Popular choices are flowers, hearts, butterflies, geometric shapes, or abstract designs.
-
Keep the design simple with clear sections separated by lines — these lines will mimic the lead strips in stained glass windows.
2. Cut Out the Design
-
Carefully cut out the design from the black paper, leaving thick black lines between sections.
-
Alternatively, cut out each “window” area from the design, leaving open spaces to fill with colored materials later.
3. Prepare the Transparent Base
-
Cut the clear plastic or acetate sheet slightly larger than your design.
-
This will serve as the backing to hold the tissue or cellophane pieces.
4. Attach the Design to the Plastic
-
Place the black paper design on the plastic sheet.
-
Use glue or tape to fix it in place. Make sure it’s securely attached.
5. Cut Colored Tissue or Cellophane
-
Cut small pieces of colored tissue paper or cellophane that will fit inside each section of your design.
-
You can overlap colors for more interesting effects.
6. Glue Colored Pieces
-
Apply glue inside each open section of the design, then place the colored tissue or cellophane pieces.
-
Smooth them down so they lay flat and fill the space completely.
-
Allow the glue to dry.
7. Trim Excess and Final Touches
-
Trim any excess tissue or cellophane hanging over the edges.
-
You can add glitter or small decorations on top if you want.
-
Optionally, laminate the whole thing with another clear sheet for durability.
8. Add a Hanging Mechanism
-
Punch a small hole at the top or attach a small loop with tape.
-
Tie a string or ribbon through the hole.
9. Display Your Suncatcher
-
Hang it in a sunny window or outside where the light can shine through.
Tips:
-
Use double-sided tape if you don’t want the mess of glue.
-
Tissue paper is easier to work with but can wrinkle; cellophane is smoother and shinier.
-
Try mixing colors by layering different pieces of tissue or cellophane for beautiful blends.
-
For kids, pre-cut shapes and simple designs work best.
If you want, I can also give you a version with a melting bead suncatcher or a salt dough suncatcher recipe — just let me know! Would you like that?