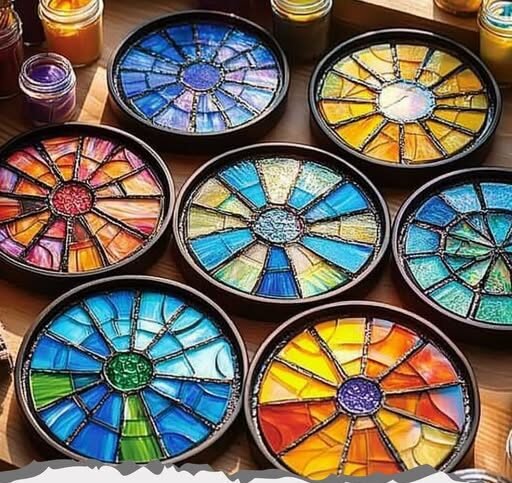
Here’s a simple Stained Glass Glue Window Art recipe that’s perfect for a colorful, faux stained glass effect using everyday craft supplies:
🌈 Stained Glass Glue Window Art Recipe
Materials Needed:
-
White school glue (like Elmer’s)
-
Clear plastic sheet (plastic report covers, transparency sheets, or sheet protectors work great)
-
Black acrylic paint
-
Clear plastic cups or small containers
-
Food coloring or liquid watercolors
-
Paintbrushes or cotton swabs
-
Craft stick or toothpick (for mixing)
-
Outline template (optional)
Step-by-Step Instructions:
-
Make the Black Glue Outline:
-
Mix 1 part black acrylic paint with 2 parts white school glue in a bottle (or a squeeze bottle for easy application).
-
Shake or stir thoroughly.
-
This will be your “leading” to mimic stained glass outlines.
-
-
Prepare the Surface:
-
Place your plastic sheet over a printed outline/template (like a butterfly, flower, or abstract design).
-
Tape the sheet down so it doesn’t shift.
-
-
Draw the Outline:
-
Use the black glue mixture to trace the lines of your template onto the plastic sheet.
-
Let it dry completely (this may take several hours or overnight).
-
-
Mix Colored Glue “Paint”:
-
In small containers, mix white glue with a few drops of food coloring or liquid watercolor.
-
Stir well to get vibrant, transparent colors.
-
-
Fill in the Colors:
-
Once the black glue is dry, use paintbrushes or cotton swabs to fill each section with your colored glue.
-
Be generous — it will dry translucent!
-
-
Let It Dry:
-
Allow the entire artwork to dry completely (24–48 hours, depending on how thick the glue is).
-
-
Display:
-
Peel the artwork carefully off the plastic sheet and stick it to a window.
-
Or, leave it on the plastic and tape the sheet to a window for a sun-catching effect.
-
💡 Tips:
-
Add glitter glue or glow-in-the-dark paint for extra flair.
-
For a more glass-like look, use clear glue instead of white glue for the colored paint.
