Here’s a sourdough starter recipe with step-by-step instructions and a timeline to help you create a healthy, active starter from scratch using just flour and water.
🥖 Sourdough Starter Recipe (with Time & Detail)
🕒 Total Time: 7–10 days
✅ No commercial yeast needed
🍞 Makes: Enough for ongoing baking and feeding
🧾 What You Need
Ingredients:
-
Whole wheat flour (best for starting)
-
Unbleached all-purpose flour (used later)
-
Filtered or dechlorinated water (room temp)
Tools:
-
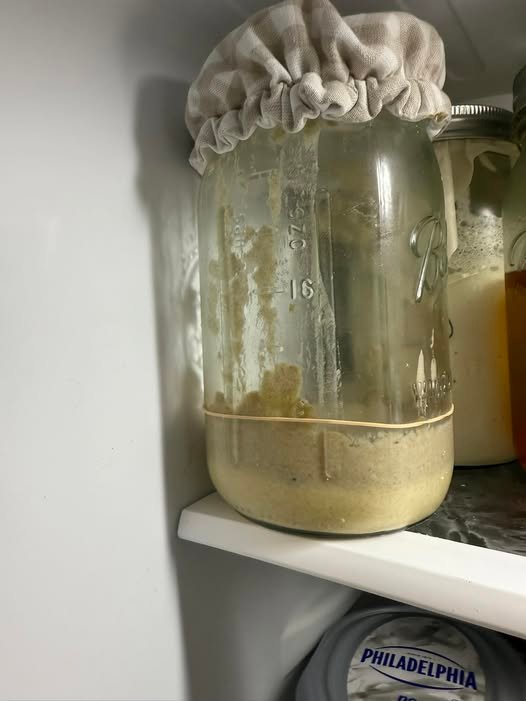
A clean glass jar or container (~500ml+)
-
Lid or breathable cover (cloth + rubber band)
-
Spoon or spatula (non-metallic preferred)
-
Kitchen scale (recommended for accuracy)
📅 Day-by-Day Instructions
🔹 Day 1 — Start the Starter
Time: Morning or evening
Ingredients:
-
60g whole wheat flour
-
60g filtered water
Instructions:
-
Mix flour and water in your jar until no dry flour remains.
-
Scrape down sides, loosely cover with lid or cloth.
-
Leave at room temperature (21–25°C / 70–77°F) for 24 hours.
Goal: Hydrate the flour and start wild fermentation.
🔹 Day 2 — Check & Wait
Time: Same time as Day 1
What to do:
-
Stir the mixture (no need to feed yet).
-
You may or may not see bubbles yet — either is okay.
Goal: Let natural yeast and bacteria activate.
🔹 Day 3 — First Feeding
Discard: Half the starter (~60g)
Feed:
-
60g whole wheat flour
-
60g water
Instructions:
-
Stir well after feeding.
-
Mark the level (rubber band or marker).
-
Loosely cover again and rest for 24h.
Look for: Bubbles, slight rise, tangy smell.
🔹 Day 4 — Transition & Monitor
Discard: Half again (~90g now, due to growth)
Feed:
-
30g whole wheat flour
-
30g all-purpose flour
-
60g water
Note: This introduces all-purpose flour.
Signs of health: More bubbles, rise & fall patterns.
🔹 Day 5 to 7 — Twice Daily Feedings
Feed every 12 hours (morning & night):
-
Discard all but 60g of starter
-
Feed with:
-
30g whole wheat
-
30g all-purpose flour
-
60g water
-
Continue until:
-
Starter doubles in 4–6 hours after feeding
-
Has pleasant sour smell (not rotten or moldy)
-
Bubbly and active
✅ When is My Starter Ready?
-
Doubles in size in under 6 hours
-
Smells tangy, slightly sweet or yeasty
-
Full of bubbles
-
Passes the “float test”:
-
Drop 1 tsp of starter into a glass of water — it should float (shows it’s gassy and active)
-
🥣 Starter Maintenance (Once Ready)
In the Fridge (for weekly baking):
-
Keep ~60g starter
-
Feed once per week:
-
60g flour (half whole, half all-purpose)
-
60g water
-
At Room Temp (daily baking):
-
Feed every 12 hours
-
Same 1:1:1 ratio (starter:flour:water by weight)
🧊 If You Miss a Feeding?
-
No panic! Discard and resume feedings.
-
If it smells foul (not just sour) or grows mold — start over.