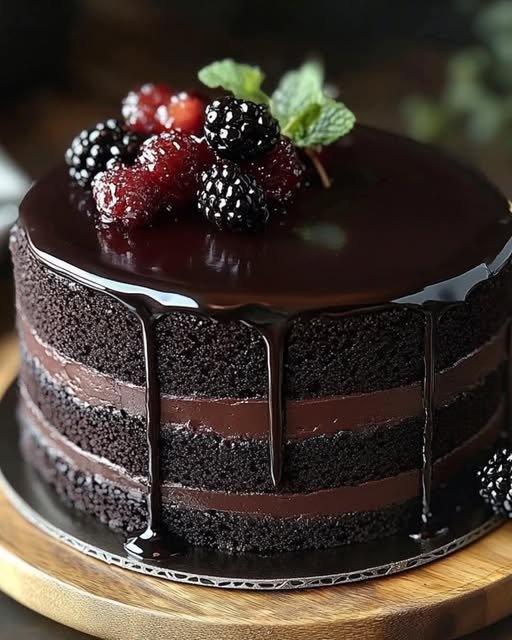
Here’s a decadent and luxurious Black Velvet Cake recipe that will wow your guests with its rich, moist texture and deep flavor. It’s a bit of a twist on the traditional red velvet, using dark cocoa for a more intense taste.
Ingredients:
For the Cake:
-
2 1/2 cups all-purpose flour
-
1 1/2 cups unsweetened dark cocoa powder (use a high-quality one like Valrhona for maximum richness)
-
2 cups granulated sugar
-
1 1/2 teaspoons baking powder
-
1 1/2 teaspoons baking soda
-
1/2 teaspoon salt
-
1 1/2 cups buttermilk (room temperature)
-
1 cup vegetable oil
-
3 large eggs (room temperature)
-
2 teaspoons vanilla extract
-
1 tablespoon espresso powder (optional, enhances the chocolate flavor)
-
1 tablespoon white vinegar (for tang and moisture)
-
1/2 cup boiling water
-
Black food coloring (optional, if you want it to be truly “black velvet”)
For the Cream Cheese Frosting:
-
16 oz cream cheese (softened)
-
1/2 cup unsalted butter (softened)
-
4 cups powdered sugar (sifted)
-
1 teaspoon vanilla extract
-
Pinch of salt
Instructions:
1. Prepare the Cake:
-
Preheat your oven to 350°F (175°C). Grease and line three 8-inch round cake pans with parchment paper, and set them aside.
-
In a large mixing bowl, whisk together the flour, cocoa powder, sugar, baking powder, baking soda, salt, and espresso powder (if using).
-
In a separate bowl, whisk together the buttermilk, oil, eggs, and vanilla extract. Add the vinegar and stir well to combine.
-
Gradually add the wet ingredients into the dry ingredients and mix until smooth. The batter will be thick, but that’s okay!
-
Add the boiling water and mix well. The batter will now be very thin—don’t worry, that’s perfect for a super moist cake. If you’re using black food coloring, now is the time to add it. Start with 1-2 teaspoons and adjust until you achieve the desired color.
2. Bake the Cake:
-
Divide the batter evenly among the three prepared cake pans. Tap them lightly on the counter to remove any air bubbles.
-
Bake for 30–35 minutes, or until a toothpick inserted into the center comes out clean.
-
Let the cakes cool in the pans for about 10 minutes, then turn them out onto wire racks to cool completely.
3. Make the Cream Cheese Frosting:
-
In a large bowl, beat the softened cream cheese and butter together until smooth and creamy.
-
Gradually add the powdered sugar, 1/2 cup at a time, and beat until fully incorporated and smooth.
-
Add the vanilla extract and salt, then beat again until combined.
4. Assemble the Cake:
-
Once the cakes have cooled completely, place one layer on a serving plate. Spread a generous amount of cream cheese frosting over the top.
-
Add the second cake layer and repeat the frosting process. Top with the final layer and cover the entire cake with the remaining frosting.
-
For an extra touch, you can decorate the top with chocolate shavings, edible gold leaf, or even a dusting of cocoa powder.
Tips:
-
Moisture Tip: If you find that the cake is a bit too dry, adding an extra tablespoon of oil or a couple tablespoons of sour cream to the batter can help lock in moisture.
-
Cocoa Quality: The cocoa powder really makes a difference. Go for a high-quality dark cocoa for that deep, velvety taste.
-
Food Coloring: If you’re going for an intense black color, you may need quite a bit of black food coloring. Use gel coloring for a more concentrated color.
This cake is perfect for a special occasion or just when you want to indulge in something truly luxurious. Enjoy!